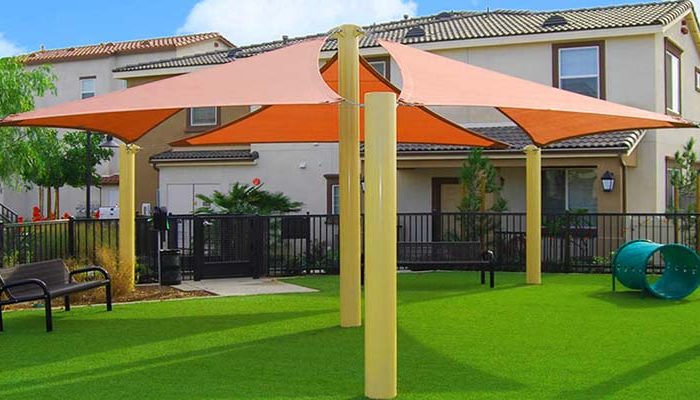
Every handyman job requires tools of some kind so if you intend to install one of the many shade sails available from One Shade Sails to create some cool shade around your home, you’ll need some basic tools to do the job. You may already have some of the tools needed if you already do this kind of work around your home. It’s important to get tools that are right for the job, otherwise it will be more difficult than it needs to be and can be dangerous.
Here are some of the tools needed to install a sail.
- A three-step ladder or a longer stepladder may be needed if the posts are very high. Open it up and make sure it is stable before you purchase it.
- An 18 volt cordless compact drill driver. Cordless tools mean you can use it anywhere without worrying about running an electric lead.
- A 100mm screw driver used as a lever to help tighten the turn buckle.
- A carpenter’s pencil.
- Safety glasses – remember you only have two eyes and they can’t be replaced.
- Hat or cap to keep the sun out of your eyes while you work.
- Mask for working with concrete. This is important because the fine dust will rise up and be breathed into your lungs where it can do damage.
- Non-stretch carpenter’s measuring tape
- D shackle shade sail accessory – one for each anchor point.
- 10mm galvanised hook and eye turnbuckle.
- Optional – rope or chain to extend the sail to a fixing point.
- Fascia support if there is to be an attachment to the fascia.
- Posts, H5 for softwood and H 1 for hardwood. The number of posts depends on the shape of the sail and its location.
- Concrete for footings. Follow the manufacturer’s instructions for mixing and placement. There should be 100mm depth of concrete at the base of the posthole to ensure a solid foundation.
- Shovel (optional).
- Bucket to measure the amount of water needed for the concrete.
- Block of wood to smooth the finished concreting. It should slope away from the post to aid drainage. You could also use the edge of the shovel to do this.
Tips for installation
- Line up the posts so that the flat part is facing the centre of the sail.
- Allow the cement to set properly before adding the sail and tensioning correctly.
- Do not over tension the sail.
- Make sure all the fixing points are strong. If using a wall of your home, add additional support and place the fixture at least 5 rows of bricks down from the top to avoid damage to the wall.
- Chlorine can lead to the fabric breaking down prematurely.

